
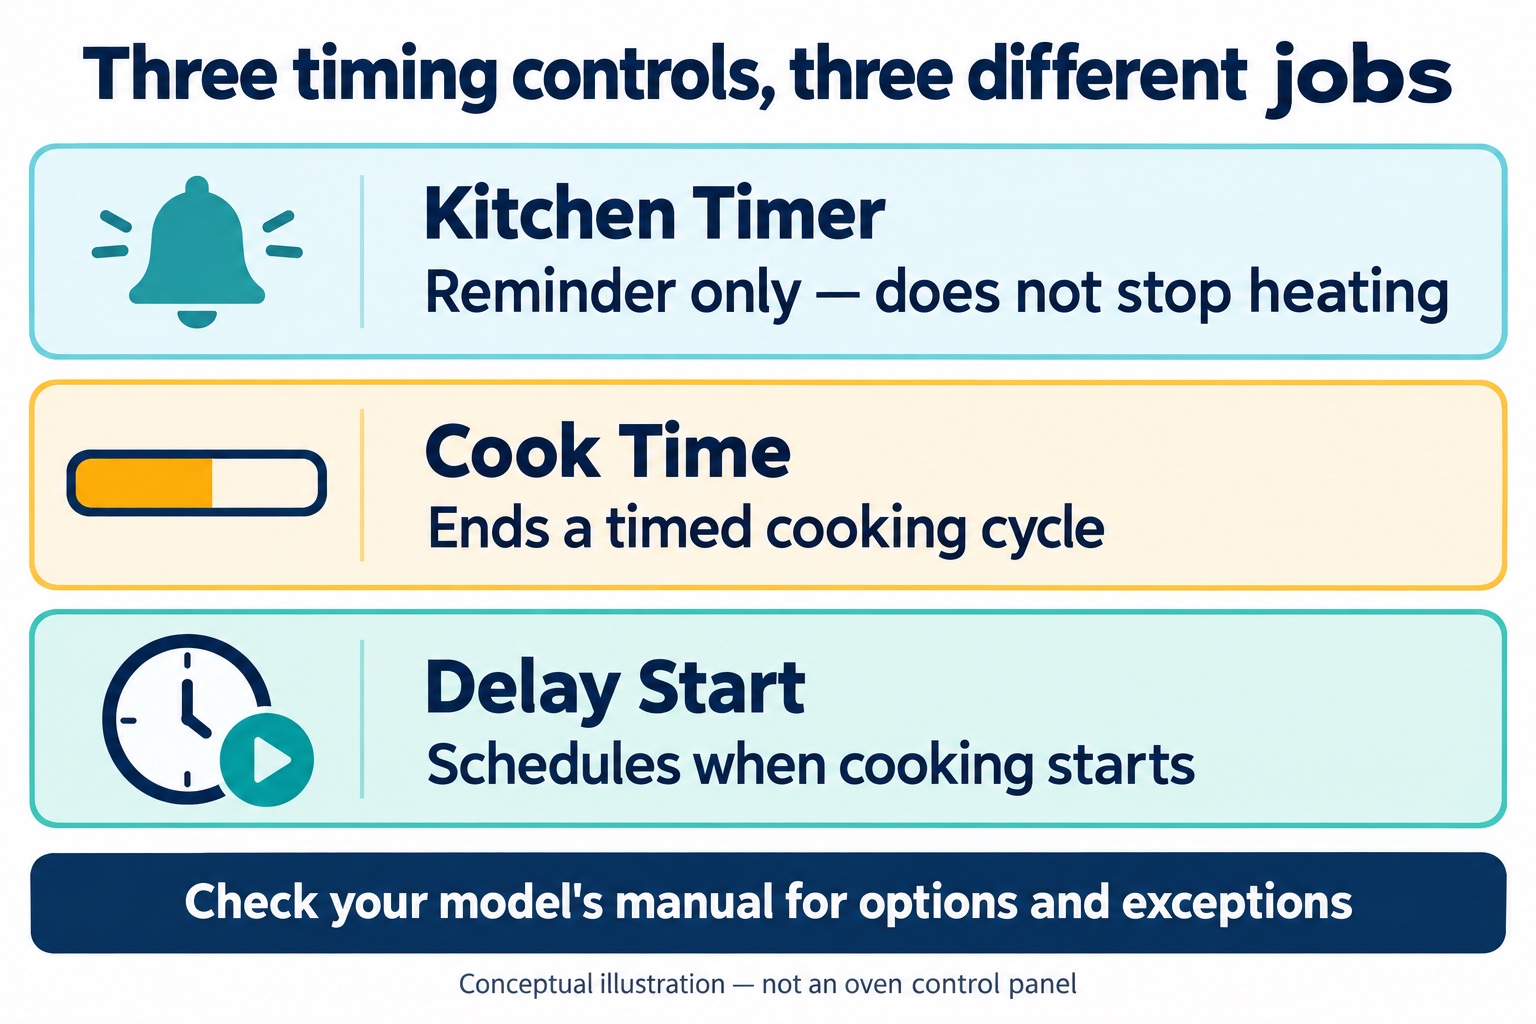
On GE ovens, Kitchen Timer is normally a reminder, Cook Time controls a timed cooking duration, and Delay Start schedules a clock time for cooking to begin. They are not interchangeable. Setting a kitchen timer does not, by itself, tell the oven to stop heating.
Exact controls vary by model. This guide explains the decisions behind the settings so you can find the right instructions in your oven’s manual. It is not a universal button sequence for every GE range, wall oven, or mechanical clock.
Choose the function by what you want the oven to do
| Function | What you enter | What it changes | What not to assume |
|---|---|---|---|
| Kitchen Timer / Timer | An elapsed interval | A reminder countdown | It does not turn the oven off. |
| Cook Time / Time Cook | A cooking duration | A timed cooking cycle | Check whether Cook and Hold is enabled; the cycle may transition to warming. |
| Delay Start | A start time on the clock | When an eligible cooking cycle starts | Delay Start alone is not an instruction to stop after a chosen duration. |
GE documents these separately: setting the timer, setting Cook Time, and using Delay Start. Availability and permitted combinations depend on the model.
Kitchen Timer: a reminder that does not control the heat
Use Kitchen Timer when you want an alert but intend to manage the oven yourself. It can remind you to check browning or rotate a tray while the oven continues its selected cooking mode. When the countdown finishes, the alert is not evidence that heating has stopped.
GE shows different interfaces for number pads, arrow controls, and touchscreens. Some use a clock icon followed by Kitchen Timer. Use the labeled function in your manual rather than copying another model’s button order.
GE’s timer tips clarify that 00:05 means five minutes and 01:00 means one hour. Some displays show minute increments until the final 60 seconds. A number that stays unchanged briefly is not necessarily a frozen control.
Cook Time: a duration for the cooking cycle
Cook Time is the appropriate feature when you want an eligible cooking mode to end after a programmed duration. GE’s Cook Time guidance describes the oven turning off when the time finishes, but a model with an enabled warming feature needs a separate check.
For an illustrative clock calculation only, a 35-minute timed interval beginning at 6:00 ends at 6:35. That example is not a recipe recommendation or a guarantee about when your model starts counting relative to preheating. Check the manual’s preheat and timed-cooking instructions before relying on that interval for food.
After programming, look for confirmation that both the cooking mode and duration are accepted. A kitchen-timer countdown alone is not confirmation. If the controls reject the entry or return to the clock, recheck the model’s sequence; do not repeatedly press unrelated controls until something starts.
Delay Start: a clock time, not “wait this many minutes”
Delay Start schedules when a compatible cycle begins. It requires a correctly set oven clock. Where supported, combine it with Cook Time if you also need a programmed end to the cooking cycle.
For example, “start at 5:30” and “cook for 40 minutes” describe two different fields: a scheduled clock time and a duration. The nominal interval would end at 6:10, but preheating behavior and permitted combinations must be checked in the actual manual. Entering 40 into a start-time field is not the same instruction.
GE notes that controls without AM/PM selection require the scheduled time to be within the next 12 hours. Do not assume your oven can distinguish tonight from tomorrow morning without checking its display and instructions.
Food-safety limit: GE warns against leaving perishables such as milk, eggs, fish, poultry, and pork out for more than one hour before or after cooking in this context. The safer planning choice is to keep perishables refrigerated and avoid unattended delayed cooking. A scheduling feature does not make room-temperature storage safe.
Check Cook and Hold before expecting an automatic shutoff
GE’s special-features guidance describes Cook and Hold on applicable models: after a timed bake cycle, the oven can hold food at 170°F for up to three hours. That is not the same outcome as immediately ending all heating.
The same support page describes a separate 12-hour shutdown feature. Do not confuse that protective long-duration setting with a kitchen timer or disable it to solve a timing problem. Use the settings supported by your own model and check the oven’s actual state at the end.
A quick check before trusting a timed program
- Identify the oven: record the full model and use its owner’s manual, including whether it has electronic or mechanical clock controls.
- State your goal: reminder only, automatic end of an eligible cycle, or scheduled start plus duration.
- Verify the inputs: clock time for Delay Start; duration for Cook Time or Kitchen Timer; correct time units.
- Check the final display: confirm the intended cooking mode, timing function, and any hold setting—not just a countdown.
- Separate timer cancellation from oven cancellation: the timer’s own cancel control may leave cooking active. If you want heating to stop, use the oven cancellation instructions in the manual and verify the cooking mode has ended.
On double ovens, confirm which cavity the cooking program applies to; a timer alert does not identify a heating fault. If you want to understand the reminder display without cooking, consult the timer instructions with the oven off rather than using food as an experiment.
When the problem is not a timer setting
If the oven stops outside the programmed cycle, loses its display, repeatedly trips a breaker, or fails to respond, do not explain it away as “the timer.” Our GE oven unexpected-shutdown guide separates control settings from faults, and our GE oven control-panel guide covers unresponsive controls.
Stop use for smoke, burning electrical smells, or damaged wiring and seek qualified service. For a gas odor, leave the area and contact the gas utility or emergency services from a safe location; do not operate switches or test another cooking cycle.
How this guide was prepared: TemperatureMaster Editorial used AI-assisted research and writing, checked the distinctions against GE’s linked support documents, and developed the comparison and programming checklist. We did not test an oven or obtain a technician review. Worked times are illustrative, not cooking or food-safety recommendations.
