
An inflatable hot tub’s warm-up time depends on the starting water temperature, target, water volume, heating system and heat loss. A single claim such as “ready in six hours” is not a reliable schedule for every model. Begin with your manual’s estimate, then record how your own spa behaves under comparable conditions.
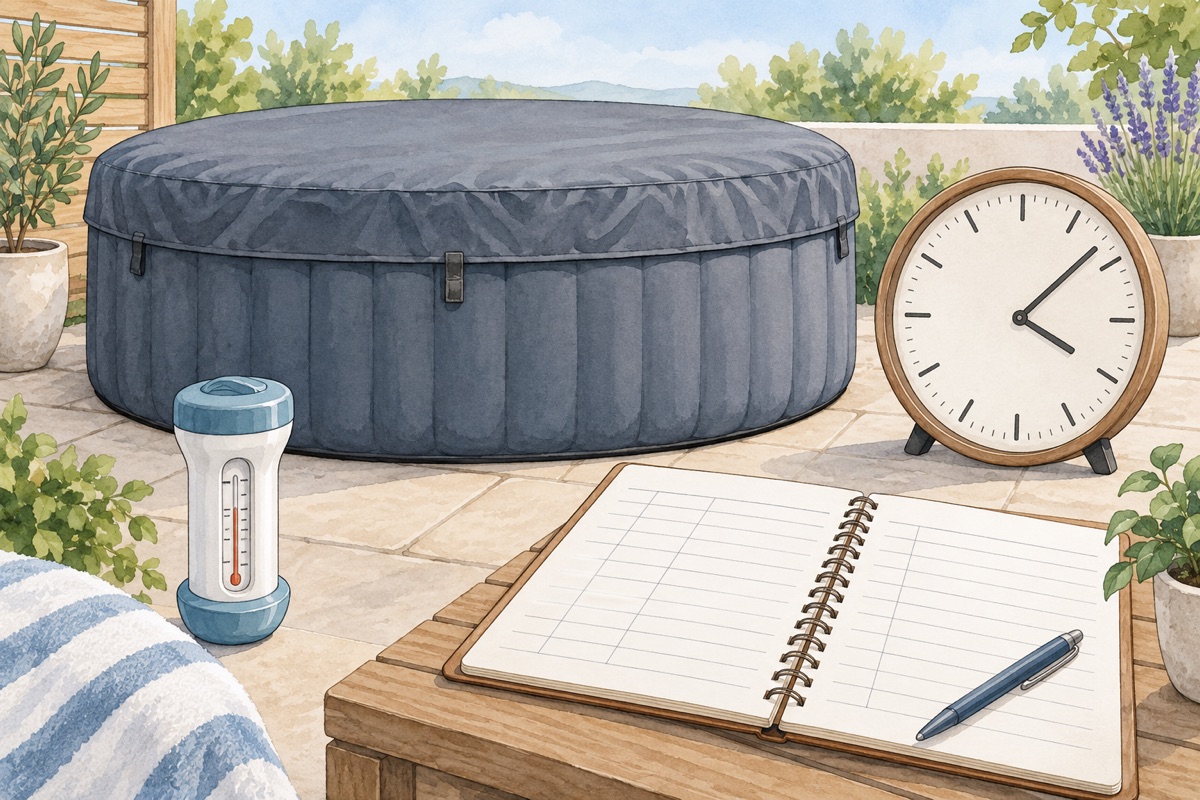
Collect the inputs before choosing a start time
Write down the spa and heater model, water volume, measured starting temperature, target temperature and the manufacturer’s stated heating-rate range. Record whether that estimate assumes a fitted cover or particular ambient conditions. Keep temperature units consistent throughout the calculation.
Lay-Z-Spa explains that initial water temperature, ambient temperature and water capacity affect warm-up. That is a useful reason to avoid copying another owner’s start time, even when the tubs look similar.
Calculate a planning range—not a guarantee
For an approximate constant rate: hours = (target temperature − starting temperature) ÷ temperature rise per hour. The rate must come from the relevant manufacturer guidance or your comparable observations, not a guess based on heater watts alone.
Suppose the water starts at 20°C and the chosen target is 36°C: the rise is 16°C. If the applicable rate range is 1–1.5°C per hour, the arithmetic gives about 10.7–16 hours. These temperatures are hypothetical planning inputs, not a recommended bathing temperature or a promise for your spa.
The same temperature difference is 28.8°F, and the equivalent rate is 1.8–2.7°F per hour; the estimated time is unchanged. Mixing a Celsius difference with a Fahrenheit rate produces an incorrect result.
Lay-Z-Spa’s heating-issues page gives an approximate 1–1.5°C hourly rise and warns that heating from cold can take much longer, especially in colder conditions. A simple constant-rate example is not a replacement for those qualifications or your model’s manual.
Turn the calculation into a useful log
| Record | Why it matters |
|---|---|
| Start time and actual water temperature | Establishes a baseline instead of confusing the setpoint with actual water. |
| Later time and water temperature | Shows whether the water is measurably warming. |
| Cover and outdoor conditions | Helps explain why two sessions differ. |
| Settings, messages and interruptions | Separates an uninterrupted heating period from a timer or fault interruption. |
For example, a hypothetical rise from 20°C to 23°C in three hours averages 1°C per hour during that interval. Extending that rate to the remaining 13°C suggests another 13 hours, but changing weather and increasing heat loss can invalidate the projection. Use the log to refine a schedule, not to overrule an error message.
Reduce avoidable heat loss without improvising
Use the correct cover and fit it as instructed while the spa is unoccupied. Maintain only the owner-serviceable filter and water level specified by the manual. Manufacturer warm-up advice discusses heat retention; it does not approve homemade electrical supplies, unapproved heaters or internal modifications.
Do not add boiling water, bypass protection or assume that a different brand’s heating-and-massage combination applies. Any permitted operating-temperature range, timer behavior or cold-weather feature must be checked for the actual equipment.
Know when timing is no longer the main question
If the water does not rise as expected, record the conditions and use our safe inflatable-spa troubleshooting guide. Stop using the unit for repeated protective trips, damaged wiring, excessive plug heat or leakage near electrical equipment. Do not keep resetting it to recover the planned bathing time.
After a refill, note the colder starting water and follow the model’s setup instructions. A slow first heat is not automatically an airlock or a failed element. Never dismantle the pump merely because a timing estimate was missed.
How this guide was prepared
TemperatureMaster Editorial prepared this guide with AI-assisted research and writing checked against the linked manufacturer or government publications. The worksheet and examples are editorial tools, not measurements from a customer installation. We have not tested the equipment or inspected a home for this guide. See our editorial policy.
